
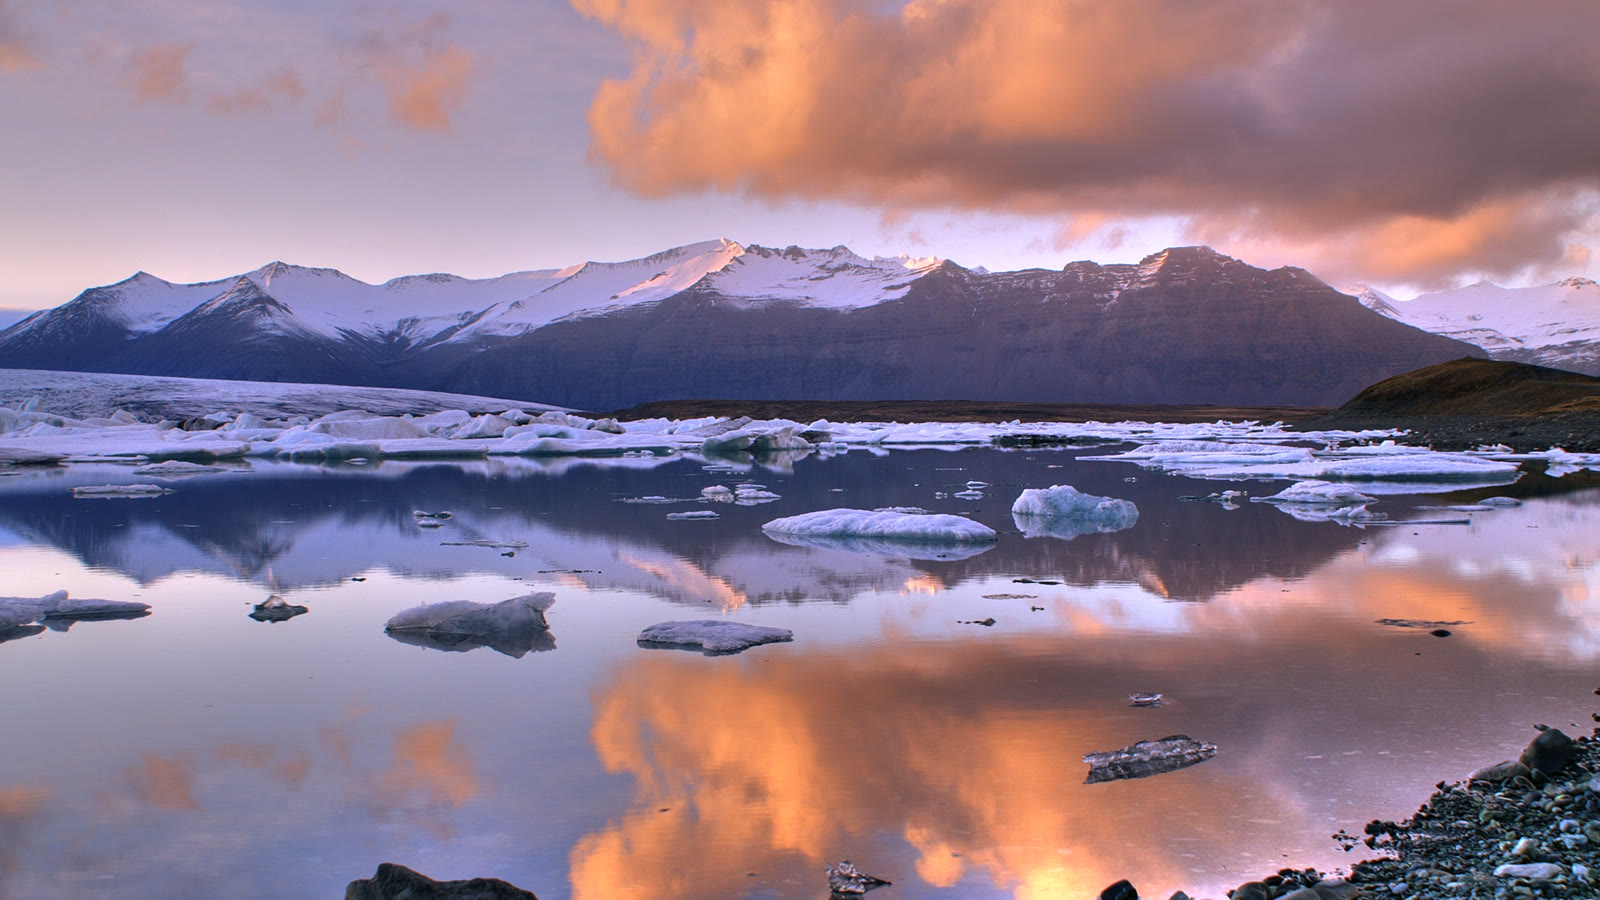
Your phone probably holds dozens of trip photos—beach mornings, mountain hikes, city streets, sunsets you did not want to delete. A slideshow with music already works, but one animated photo can feel closer to being there again: clouds drifting, water moving, the camera slowly crossing the view you captured.
AI image-to-video adds that motion from a single still. You can post one clip on Reels, or animate three or four favorites and stitch them together in CapCut with a song and place names. No keyframes, no timeline skills required—just upload, prompt, review, export.
What Is the Best Way to Animate Travel Photos?
It depends on the result you want.
- AIimage-to-videotools: Best for turning a single landscape or travel photo into a moving scene. Seedance is one option to explore if you want slow camera moves and natural-looking motion.
- Video editors such as CapCut: Better for combining multiple travel photos, adding music, arranging clips, and including location names or dates.
If you want a photo of a waterfall to look more dynamic or a mountain scene to feel like a slow camera shot, start with an AI travel photo animation tool. If you simply want to put 20 holiday photos together with your favorite song, a slideshow editor may be all you need.
How to Turn Travel Photos into a Video with AI
You don't need professional editing skills. Follow these four steps.
Step 1: Choose a Travel Photo
Choose a shot where the main subject is obvious and not jammed into the edge of the frame—a wide beach, a mountain ridge, a street leading into the distance. Daylight photos with open sky or water give the AI room to animate clouds or waves without inventing new buildings.
Step 2: Upload It to an AI Video Tool
Open an image-to-video generator, upload your photo, and select the option to create a video from an image. If the tool offers different video sizes, choose vertical for Reels and TikTok or landscape for a wider travel video.
Step 3: Describe the Movement
Name one main motion and ask to keep the real location. Beach: waves rolling in. Mountains: clouds drifting and camera inching forward. City: camera walking down the street. Avoid stacking "add rain, change season, add crowds" unless you are fine with a different place.
Use the sample above for mountain shots. Swap "clouds" for "gentle waves" on coastal photos, or "camera moves forward along the street" for urban trips.
Step 4: Generate and Save the Video
Generate the clip and check whether the movement looks natural. If the scenery changes too much, simplify your prompt and try again. Once you're happy with the result, export the video.
If you want to turn several travel photos into one video, repeat the process for your favorite pictures and combine the clips in a video editor.
AI Travel Photo Animation Prompts You Can Try
Match the prompt to what is already in the photo. You only need one or two sentences: what moves, what stays, and "keep it realistic." Long prompts often change landmarks or sky color when you only wanted soft motion.
Beach and Ocean Photos
A still beach photo can feel more alive with gentle movement in the water.
This works well for coastal holidays, tropical destinations, and sunset photos.
Mountains and Natural Landscapes
Mountain photos often look good with slow camera movement and subtle changes in the sky.
Avoid asking for dramatic weather changes if you want the result to resemble the place you actually visited.
City Streets and Famous Landmarks
For city photos, a gentle forward camera move can make the scene feel like a short travel video.
Be careful with crowded scenes. AI may distort faces, signs, or moving people, especially when the original photo contains lots of small details.
Sunset and Scenic Views
Sunsets are ideal for subtle animation rather than dramatic changes.
The goal is to add movement without turning your actual travel memory into a completely different scene.
How to Make a Travel Video from Multiple Photos
Animating one photo creates a short clip. To tell the story of an entire trip, combine several photos in a video editor.
A simple sequence works surprisingly well:
- Start with a photo of the destination or a wide landscape.
- Add photos of places you visited during the trip.
- Finish with a sunset, favorite moment, or group photo.
Keep the clips short and use consistent transitions. Add background music if you like, and include brief location names or dates to help viewers follow the journey.
You don't have to animate every photo. Mixing a few AI-generated clips with ordinary photos can make the video feel more natural and save time.
Tips for Better AI Travel Videos
Choose photos with room for movement. A wide landscape often gives the AI more space to create a smooth camera move than a tightly cropped image.
Keep the motion subtle. Gentle waves, drifting clouds, and slow camera movements usually look more convincing than several dramatic effects happening together.
Protect the original scenery. If you're recreating a real travel memory, ask the AI to preserve the buildings, mountains, coastline, and other important details. Generated videos can still change these elements, so check the result.
Don't expect perfect animation every time. Water, tree branches, distant people, and complex architecture can look distorted. Try a simpler prompt if the first result feels unnatural.
Use the right format. Vertical videos suit TikTok and Instagram Reels, while landscape videos are useful for YouTube and larger screens.
You don't need to animate every photo or learn complicated editing. Start with one of your favorite travel pictures, choose a natural movement, and let AI create a short clip.
Once you find a style you like, animate a few more photos and combine them into a travel video. A little movement can make familiar holiday pictures feel fresh again, whether you're sharing them online or keeping them as a personal memory.