
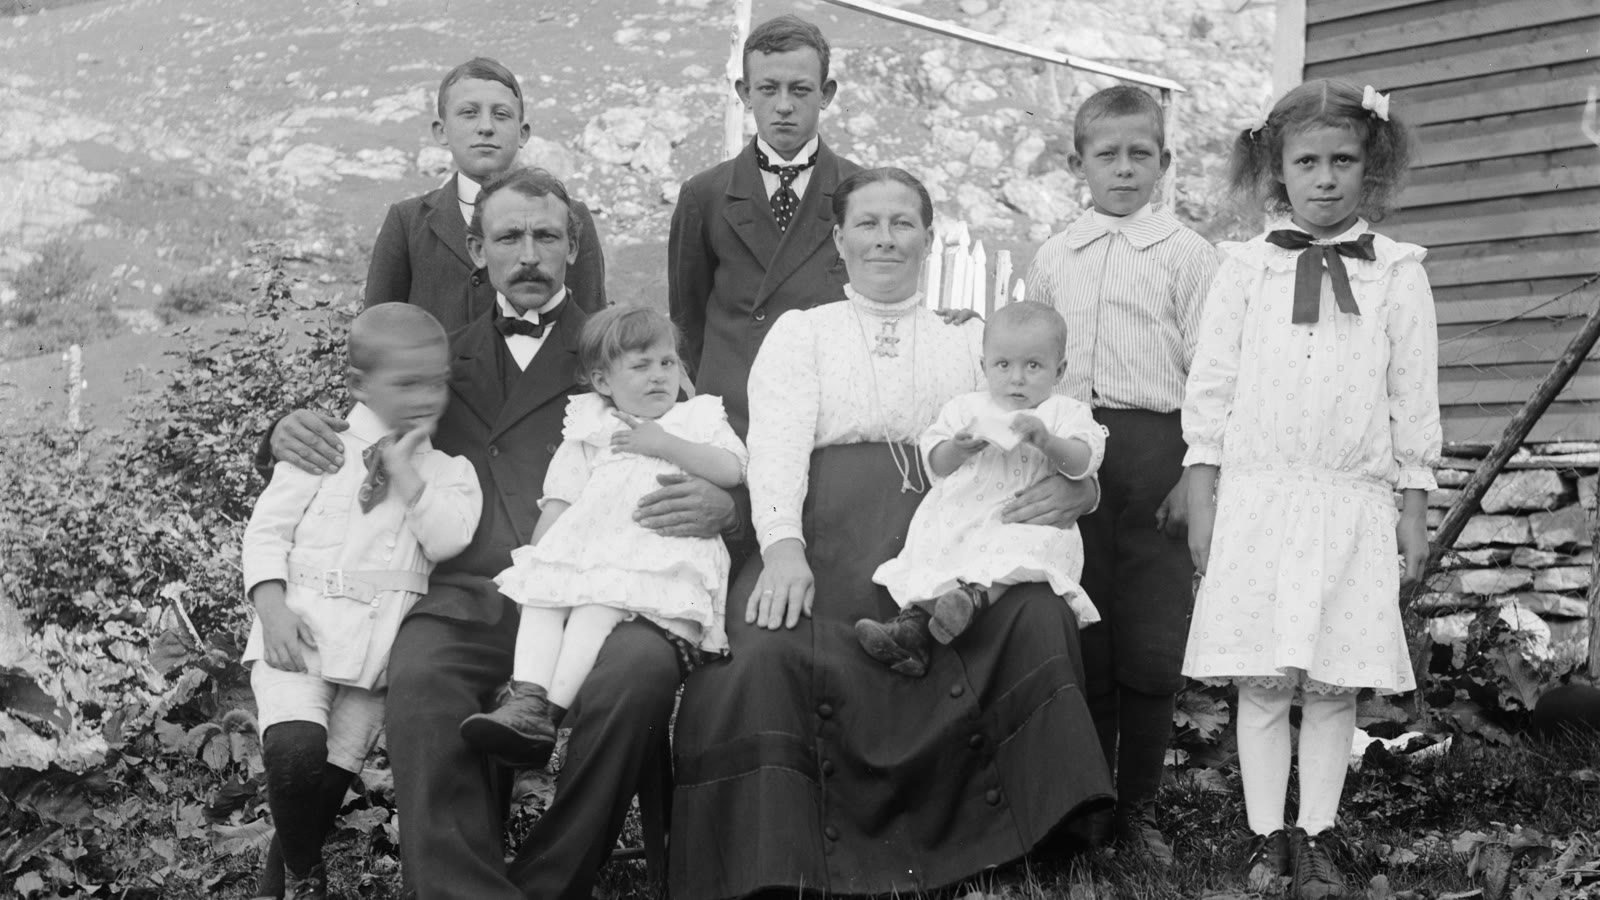
Old family photos often sit in albums or phone galleries for years—a wedding picture of your grandparents, a childhood portrait of your parents, or a faded group shot from a holiday. AI image-to-video tools can turn one of those stills into a short clip: a blink, a soft smile, leaves moving in the background, or the camera slowly moving closer.
The hard part is not finding a tool. It is picking a photo the AI can read and asking for small, realistic movement. Ask for too much—a big laugh, a full head turn, waving hands—and faces often drift away from the people you remember. The steps below show how to animate old photos while staying as close as possible to the original memory.
Choose the Best Version of Your Old Photo
Before you upload anything, look at the photo on a larger screen if you can. You do not need a studio-quality scan, but you should clearly see who is in the picture—especially the eyes, mouth, and jawline. If those areas are hidden by scratches, glare, or blur, the AI may guess wrong when it tries to animate the face.
Printed photos: scan them flat if you have a scanner. That beats taking a picture of the print at an angle, which adds glare and a skewed look. No scanner? Lay the print on a table by a window, hold your phone straight above it, and tap to focus on the face before you shoot.
Save an untouched copy of the original file before you crop, restore, or upload. You will want something to compare against if a restored version or an AI clip does not look like the person you remember.
Should You Restore the Photo Before Animating It?
Restoration is optional. If the face is already readable and the damage is mostly grain or light fading, try animating the original file first. Heavy restoration can blur real wrinkles, moles, or hairlines—and the animated person may no longer match the print in your album.
When creases or fading cover the eyes or mouth, make a gently restored copy and test both files with the same prompt. Pick the video where the person still looks like themselves, not necessarily the sharpest still image.
Black-and-white photos do not need colorization for animation. Telling the AI to keep the original black-and-white look often feels more honest than forcing modern color onto an old print.
Upload the Photo and Describe a Small Movement
Open an AI image-to-video tool, upload your photo as the starting image, and type a short prompt that describes one small change. Think blink, soft smile, eyes turning toward the camera, or background leaves moving—not standing up, walking away, or waving.
A good prompt names what may move, what must stay the same (face, hair, clothes, background), and whether the camera should stay still. Copy one of the examples below, then adjust a word or two to match your photo.
These prompts are starting points, not guaranteed instructions. Different models may interpret them differently, so generate a short clip first and adjust the wording if necessary.
Why Do AI-Animated Faces Sometimes Look Wrong?
The most common complaint: the clip almost looks like your relative, but something is off—the eyes are wider, the smile is too big, or the face ages a few years mid-video.
That happens because the tool draws new frames to fake motion. It is not sliding the original photo around like a paper doll. No prompt can promise a perfect match on every frame, so your best lever is less motion and a clearer source photo.
If the result looks unnatural, try these adjustments:
- Reduce the movement. Replace a broad smile or head turn with a small blink or slight change in expression.
- Simplify the prompt. Ask for one main action instead of several actions happening together.
- Use a clearer source image. Make sure the face is visible and not hidden by glare, damage, or heavy blur.
- Try a different version of the photo. Compare the original with a lightly restored copy if important facial details are damaged.
Do not keep adding more descriptive words if the model is already changing the person's face. A simpler instruction may give you a better result.
What If You Only Have a Black-and-White Photo?
Black-and-white photos can be animated without being colorized first. If you want the final clip to retain its original look, mention that in your prompt.
For example:
If you want a color version, consider creating a separate colorized copy and testing it independently. AI colorization estimates the colors that might have been present; it does not recover information that was never recorded in the photograph.
For historical or sentimental photos, keeping the original version alongside any edited versions is a sensible precaution.
Save and Share the Finished Video
Once you have a result you like, preview the entire clip before downloading it. Do not focus only on the first frame. Watch the eyes, mouth, hands, background, and edges of the photograph for unexpected changes.
If the video looks good for the first second but becomes distorted later, try generating another version with less movement.
You can keep the clip as a personal memory or combine several animated photos in a regular video editor. Adding a simple title or quiet background music can help connect the clips without requiring additional AI effects.
Before uploading family photos to an online generator, check how the service handles uploaded images and generated videos. If the photo includes living relatives or other recognizable people, consider their permission before sharing the animated result publicly. Be especially careful with sensitive family images or photographs of people who cannot consent.